Re: head of content Anna Harcourt has been making this bread every weekend for the past year, and now flour is finally back in supermarkets, you can too. To avoid being a recipe blog that makes you scroll for half an hour just to get to the ingredients, we’ve put the simple recipe at the start, followed by notes breaking down each step at the end. And while you're waiting for it to bake, have a read of this deep dive article about what bread means for our food security.
This recipe is adapted from Jim Lahey's groundbreaking No-Knead Bread recipe, and was taught to me by my brother-in-law Chris.
It uses time instead of effort, so you don’t need to knead it at all. Start it at least 10 hours before you want to eat - so either put it on at night to have a fresh loaf in the morning, or put it on before work to eat with dinner.
Ingredients:
- 3 cups of flour
- 1 teaspoon salt
- ¼ teaspoon all-purpose active yeast
- 1.75 cups water
Mix:
Get a tub with a lid, like an ice cream tub or a 2L clip container.
Add the yeast and the water to the tub first and let it sit for three minutes. Then add the the flour and salt and mix with a fork till all the flour is stirred in and it is wet enough (see Notes: Water for what ‘wet enough’ means).
You don’t need to knead the bread. Just mix it till it has all come together and all the flour is stirred in.
Develop:
Put the lid on the tub and leave it for about 8 hours on your kitchen bench at room temperature to develop. (It doesn’t have to strictly be 8 hours, see Notes: Developing time). After 8 hours it should have developed bubbles and look gloopy.
Heat oven:
After about 8 hours developing (or about an hour before you want to eat the bread), turn on the oven to full blast, as high as your oven goes (often around 270°C). Place the oven rack on the lowest rung.
Depending on your oven, it can take up to half an hour to get to full heat (it doesn’t really matter if it's fan-forced or not, just make it as hot as possible).
Fold:
Grab a whole handful of flour and sprinkle it over a chopping board or your bench. Make sure your hands are floury. Scrape out the dough onto the floury board with your hands (you don’t need to be gentle with the dough, just pull it all out).
The dough will have blobbed out across the board. Imagine the dough is like a piece of paper. Take each ‘corner’ of the dough, and one at a time, fold it into the centre.
Once you’ve folded all four ‘corners’ into the centre, flip the dough over so the folds are on the underside. Make sure your board and hands are really floury, and that the part of the board you’re flipping the dough to is floury.
Keep flouring your hands so they don’t stick - you want the whole outer surface of the bread to be covered very lightly with flour so that it doesn’t stick.
Once flipped, with cupped hands, shape it into a rough circle. If your hands are sticking to the dough, flour them again or dust a light layer of flour over.
Bake:
Get a loaf pan (like what you’d use for banana bread or meatloaf). Grab a full handful of flour and sprinkle on the bottom of the loaf pan.
When the oven gets up to its full temperature, press the edges of your dough together so it forms an oblong that is roughly the size of your loaf pan. Make sure the loaf has a light layer of flour over it so that it doesn't stick to your hands or the loaf pan.
Gently pick up the bread and place it into the loaf pan, with the seam side (your corner folds) down. You don't want your loaves to sit too long in the pans before baking, because the dough can start to stick to the pan. So only put them into the pan when your oven has got to full heat and you're ready to bake them.
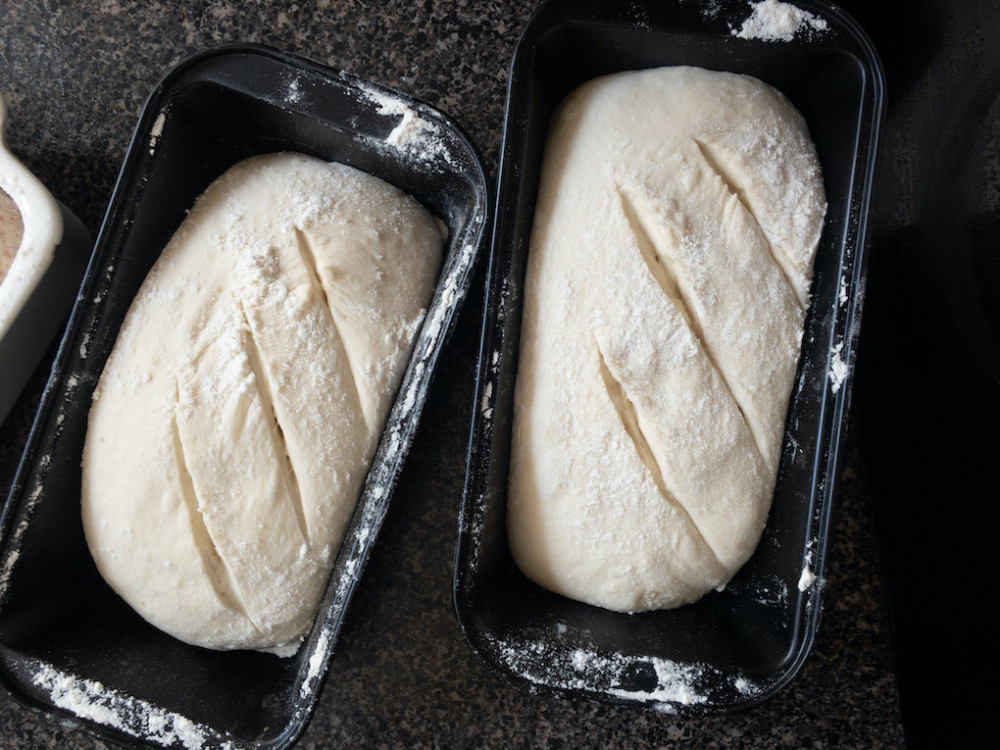
Get a sharp knife, and make three long horizontal cuts on the surface of the dough. This will let the steam escape while it’s baking, which prevents the loaf from having a giant empty bubble dome on the top. The cuts also make it look pretty!

Gently place the loaf pan into the oven on the bottom rack and bake for 30 minutes.
The way to tell if it's done is to take it out of the pan and tap the bottom with a wooden spoon. If it sounds hollow, it should be done. If it makes a dense thud, then pop it back into the oven for another five or 10 minutes.
Don’t be tempted to take it out too soon - if it’s undercooked, the inside will be damp and slightly sticky. If you cut your bread open and it’s sticky, just chuck it back into the oven for another 10 or more minutes.
If at any point during baking the bread starts to burn on top, put a layer of tin foil over it. This will stop the direct heat to the surface but will let the rest of the loaf keep baking.
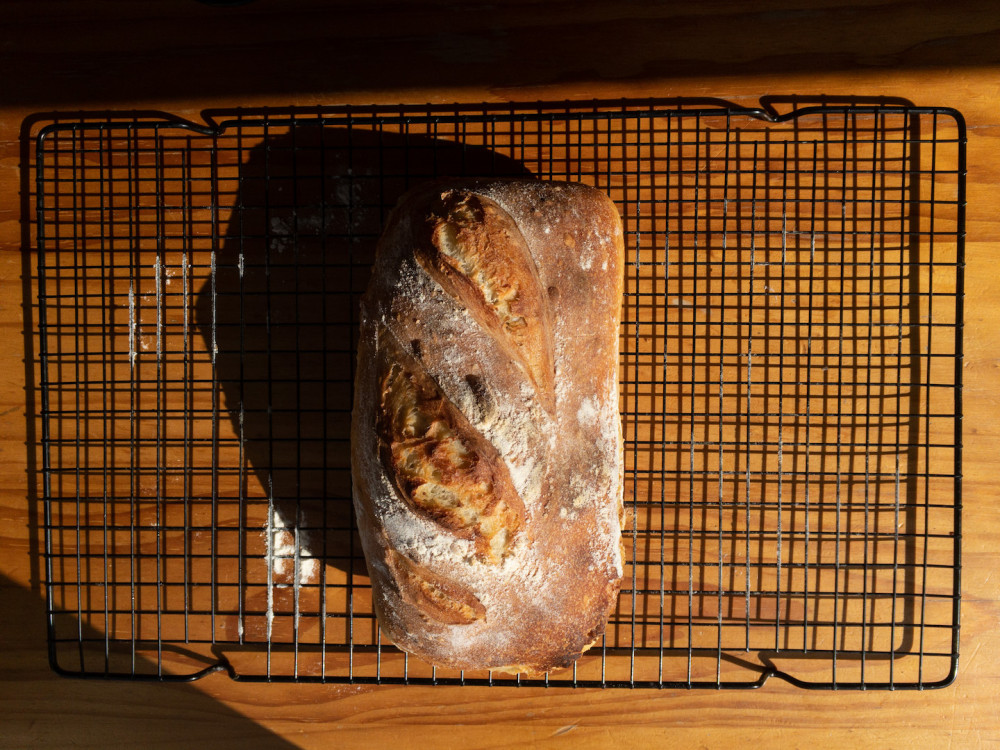
You want the crust - including the sides and bottom - to be a nice deep dark brown colour - not pale like supermarket bread.
Eat:
You’re ideally supposed to let bread fully cool before slicing into it, because when you cut hot bread it smooshes the inside a bit. But who cares! Nothing is better in life than a slice of fresh hot bread with melted butter on it.

Notes
Tub
If you don’t have a tub with a lid, then use a big bowl and place a plate or plastic wrap over the top. But a tub with a lid is best because it stops any air from getting in and making the dough dry out.
Flour
You can use basically any flour in this recipe (except self-raising flour, because that has baking powder already mixed into it). Plain white flour or bread flour is good.
You can also use any combination of flours for flavour variations, as long as it adds up to 3 cups. I often make:
- Wholemeal loaf (2 cups wholemeal, 1 cup white)
- Spelt loaf (3 cups spelt flour)
- Rye loaf (1 cup rye, 2 cups wholemeal)
Water
No-knead bread requires a much wetter dough than other bread recipes. In regular bread recipes, when you get to the kneading stage you should be able to touch your dough and have it not stick to your skin.
This recipe is different - the dough needs to be wet enough to stick to your skin.
But different flours absorb different amounts of water. Depending on the flour, I use anywhere between 1.5 cups of water to 1.75 cups. The exact amount of water isn’t important, the only important thing is that the dough looks wet enough.
So start by adding 1.5 cups of water and mixing it in. If it looks too dry, mix in more water spoon by spoon until it is wet enough.
E.g. dough that is too dry:
There are bits of flour not mixed in, it looks a bit dry and crusty on the surface. When you poke it your finger comes out dry.
Versus dough that is wet enough:
All the flour is mixed in and when you poke it your finger comes out with a thin layer of dough stuck to it.
Developing time
This is very chill - you don’t need to stick to an exact time.
I often leave it for 12+ hours overnight, but I have left it for as little as 6 hours in summer in Auckland.
My most common times are either mixing it on Friday night to have bread on Saturday morning (overnight rise), or mixing it on Sunday morning to have bread Sunday evening (day rise).
It honestly doesn’t matter, as long as it sits for somewhere between 8 - 13 hours.
If for some reason it needs to sit for longer than 13 hours (e.g. you mix it the night before but the next morning you run out of time to bake the bread), put it in the fridge. If it sits at room temperature for over 13 hours it will start to get out of control and spill out of your tub, or over-develop the yeast and have a yucky flavour.
So if you can’t bake your bread when you thought you could, pop the dough in the fridge for up to 3 days. When you are ready to bake it, take it out of the fridge and let it come to room temperature. Getting to room temperature takes waaaaay longer than you think it will, sometimes around three or four hours, but it’s very important that you do it. You should never bake your bread while it’s still cold from the fridge as it will slow down the cooking time and make it bake unevenly (burnt on outside, raw on inside).
Different flavours
Some flavour combinations I do are:
Cinnamon raisin bread: add 2 teaspoons cinnamon and half a cup raisins or currants to the bread mix at the same time you add the flour.
Seedy grain: Use 3 cups wholemeal flour and add an extra cup of any seeds you have - I use half a cup sunflower seeds, ¼ cup pumpkin seeds and ¼ linseeds - to the bread mix at the same time you add the flour.
The wholemeal seedy loaf
Making multiple loaves at once
I normally bake four loaves at once, because I have four loaf pans and that feeds my flat for the week.
To store, keep your loaves in an airtight container. They keep about 6 days before they start to go stale or mouldy. The bread also freezes really well - you can slice it, keep it in a bag in the freezer and toast it slice by slice later.
If you're going to make multiple loaves at once, I find it's easiest to mix them each in their own separate tubs - while you could just multiply the recipe and put it all into one giant tub, it's a pain in the ass to split the wet dough up before baking.
Different shapes
You can use this recipe to make all sorts of bread shapes. I normally use a loaf pan because it's easiest, and because I like its perfect toast and sandwich shape.
But you can make it into a round loaf - once you've shaped it into a rough circle, keep spinning and shaping the loaf for another minute or so.
Then slice its top, dust a baking tray with a handful of flour and bake for half an hour as usual. Don't use baking paper as it will stick to the bottom of the bread - just dust a metal tray with flour.
The round loaf
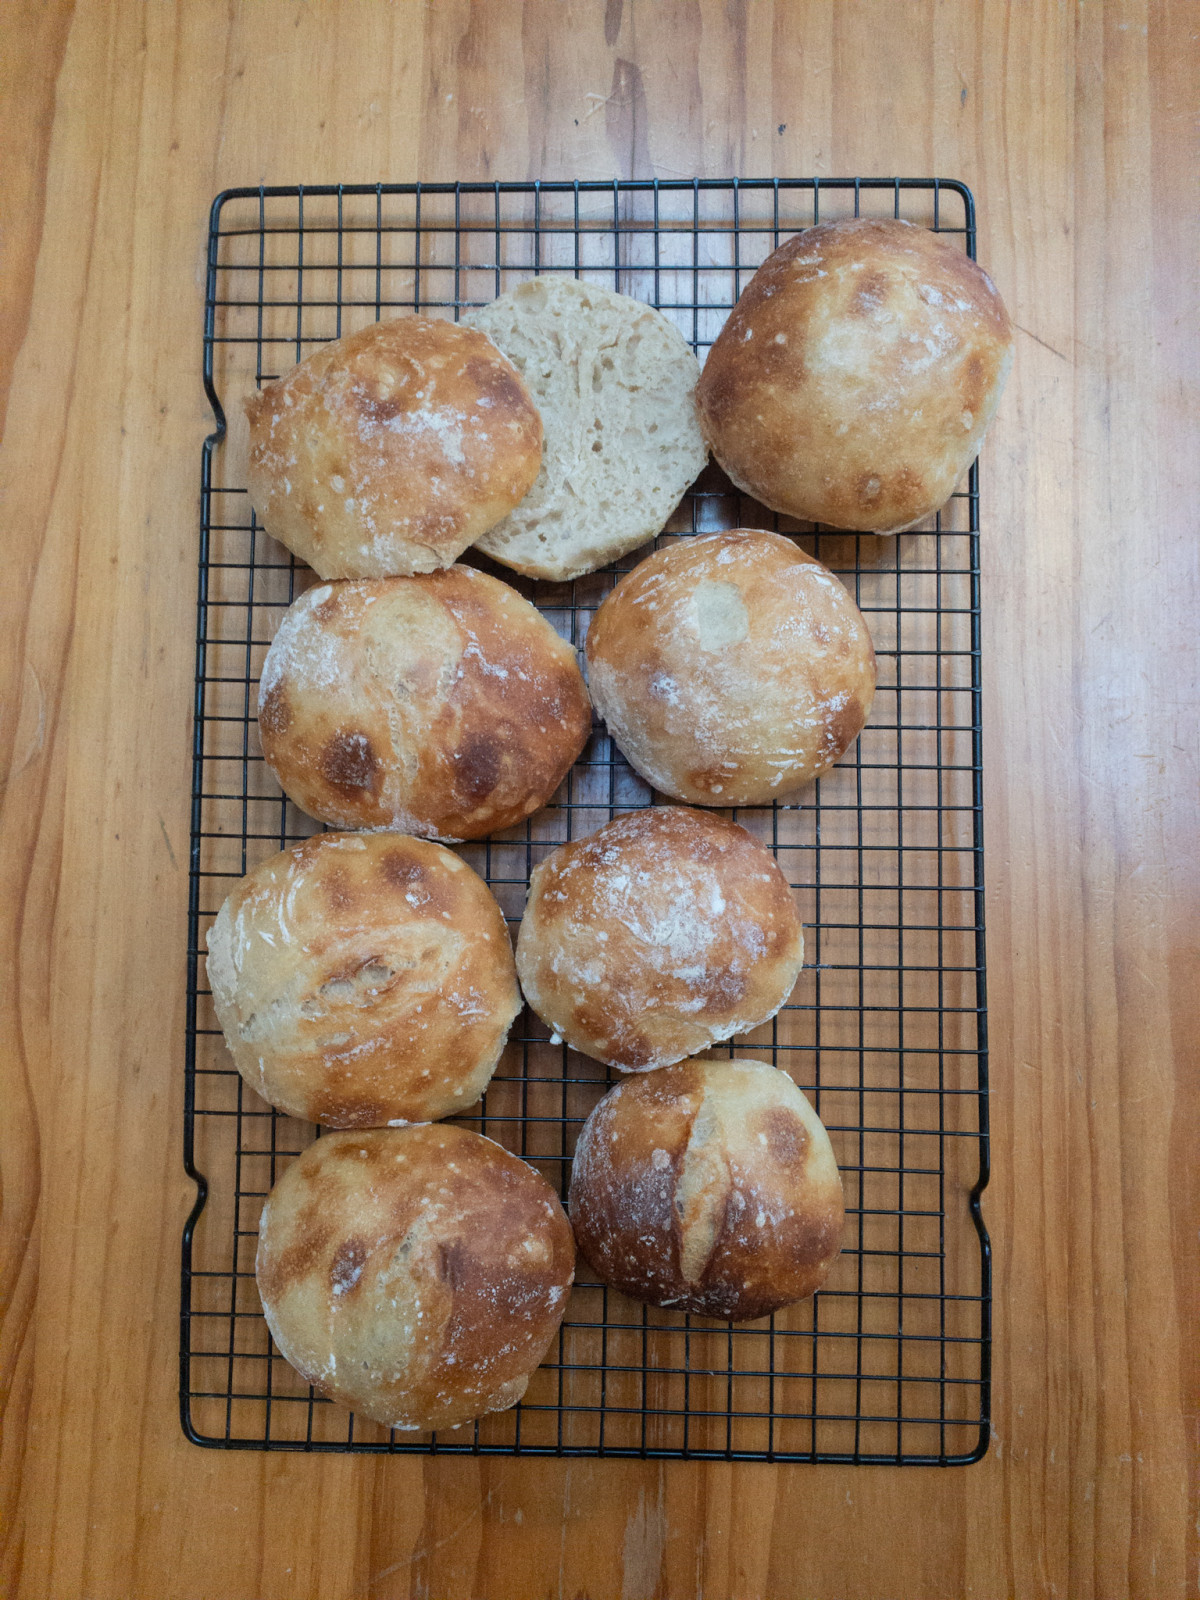
Or, you could make buns. Once you've shaped the dough into a rough circle, cut it into eight pieces. Shape each piece into its own little circle using the same shaping method, put on a floured baking tray, and let rise for half an hour. Then bake them for about 25 minutes - the time can vary for buns, so make sure you check them - as soon as they're a nice dark colour all over and they sound hollow on the bottom when you tap them, they're done.

Lil buns
Or you can make baguettes - once you've shaped the dough into a rough circle, cut it into three pieces. Make sure the outside of each piece is well floured, and roll it out into a log. Place on a floured baking tray, slice the tops with about five times, and bake for about 25 minutes - like buns, the time can vary, so make sure you check them - as soon as they're a nice dark colour all over and they sound hollow on the bottom when you tap them, they're done. If it looks like the top is burning before the bottom is cooked, flip them over to let their underside bake for a few extra minutes.